使用ASP.NET MVC 3
Introduction to ASP.NET MVC 3 framework and how to create an application using ASP.NET MVC 3,A deeper look into the two pillars of ASP.NET MVC – Routers and Controllers.,A deeper look into different Actions, Action filters, and selectors used inside a Controller.
Introduction
ASP.NET MVC framework follows the well-defined MVC pattern to create a web application. MVC design pattern is used to separate the different parts of the application for more scalability, extensibility and testability purposes.
One of the major challenges with normal web forms is the testability of the business logic. Unit test of code-behind logic is very complex. Also, the extensibility of the application required a lot of re-work on the application. ASP.NET MVC addresses the pain points associated with the traditional web form applications.
In this article, we will discuss about how to create an MVC application and understand the Controller, Views & Models.
MVC
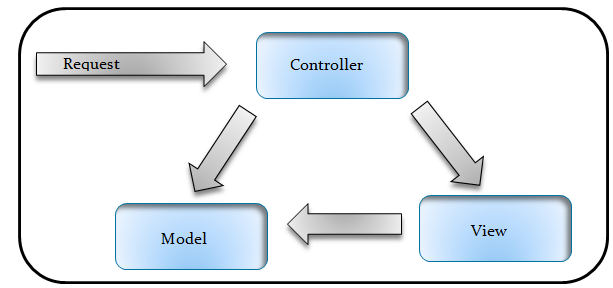
MVC means Model View Controller. Controller takes care of the overall execution of a request. Controller receives the request from the web server and identifies the data requirements. Depending on the data requirements, Controller contacts the corresponding Model. Model will supply the required data, which will be rendered to the UI using a View.
For working with ASP.NET MVC, we can install the Web Platform Installer, which consists of Visual Studio 2010 Express for coding the MVC application, SQL Server Express for storing the data and IIS Express for hosting the application. We can download the Web Platform Installer from Microsoft Web Platform Installer 3.0.
- Create an ASP.NET MVC Application
- Let us start our discussion by creating the first MVC
application. File-> New Project and select the ASP.NET MVC 3 Web Application
template.
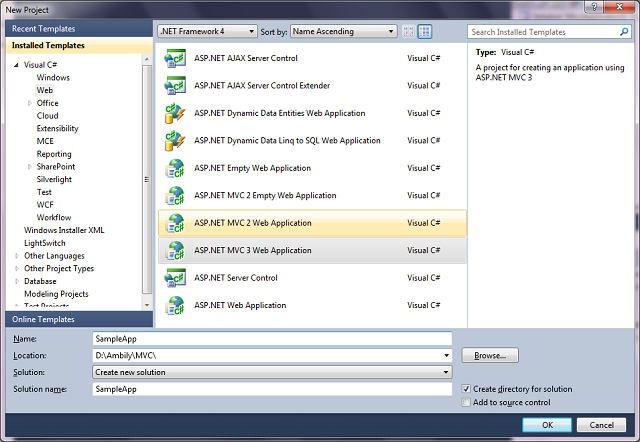
- This will open the new ASP.NET MVC 3 Project window.

- Select either Empty or Internet Application. Empty will
create a blank application. Internet application will create an application
with few default pages. For our sample, I will select the Internet
Application option.We can choose to create a test project along with
our MVC application from the same window. Also, we can choose the
View Engine as ASPX or Razor. ASPX is for backward compatibility.
Our new solution will look like:
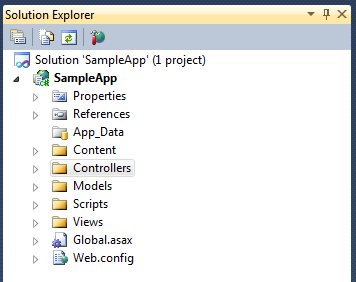
- We have different folders to hold the Controllers, Views
and Models. As we selected Internet Application, our application is
a fully functional application. We can run it and see the pages.
 It opens a small application with two tabs, Home and about. Also, we have the option to Log On, from where we can register a new User.
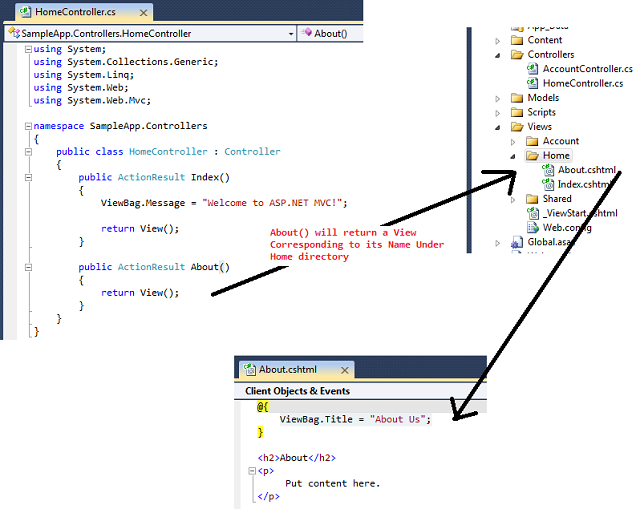
 - When you select the About tab, it goes to the HomeController
and returns a View using the About() method. About() is not specified
any View name, so the controller will goes to the Views and find the
directory corresponding to the HomeController. Here also, it uses
the name of the controller to find the corresponding directory. Then,
the controller checks whether it contains any view with the name About.
- Let us start our discussion by creating the first MVC
application. File-> New Project and select the ASP.NET MVC 3 Web Application
template.
- Data Passing from Controller to View
Now, let us see how we can pass some information to the View from Controller. There are two ways to pass data from Controller to View.
- Using ViewBag
ViewBag is a dynamic object, where we can add any properties dynamically.
For example, if I want to pass some contact information like Name and Contact number to About View from the Home controller, we can define it using the ViewBag as:
This data will be accessed in about.cshtml as:
@{ ViewBag.Title = "About Us"; } <h2About</h2 <divContact person : @ViewBag.ContactPerson Contact Number : @ViewBag.Contactnumber</div>注:Note that the dynamic properties added are not case sensitive. Also, it won’t throw any exception, in case of a wrong dynamic property reference.Now, our About tab looks like: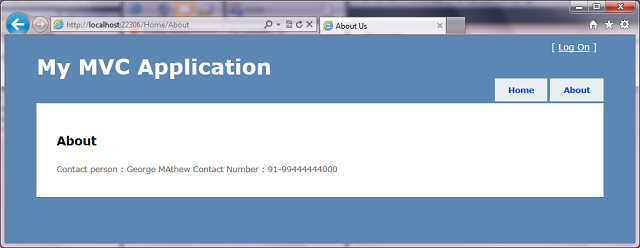
- Using Model
Now, let us see how we can pass data using a Model. Define a Model class and specify the required properties. Our sample Model class looks like:
namespaceSampleApp.Models
{public classContactAddress
    {public string Address { getset; }public string City { get; <br />set; }public string Country { getset; }
    }
}
Now, let us construct the Model in Controller and pass the same to our View:
publicActionResult About()
{var address = new ContactAddress()
    {
        Address = "Lane 21, Gachibowli",
        City = "Hyderabad",
        Country = "India"};return View(address);
}
Now, we will use the same in our View. In View, we have another object called Model, which holds the dynamic properties like ViewBag. We can extract the model properties using Model.
@{
    ViewBag.Title = "About Us";
}
<h2>About</h2>
<div>
  Contact Address: @Model.Address, @Model.City, @Model.Country
</div>
Now, our About tab looks like: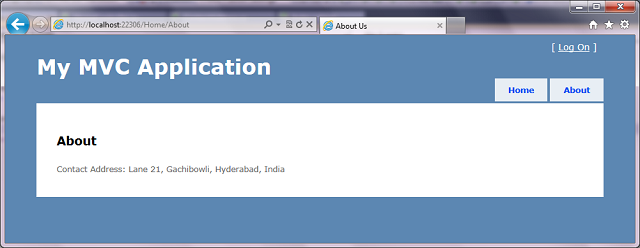
- Notice that there is no intellisense support for the
Model properties. We can define the type of the expected model on
top of the View, which will gives the Intellisense support for the
Model object.

we discussed about the ASP.NET MVC framework, how to create a basic MVC application and discussed about the Controller to View communication. We have a lot more to discuss in MVC like the Content folder holding all images and styles, Scripts folder with jQuery scripts and MVC detail. We will discuss the topics in detail later.
- Using ViewBag
- Routing data inside a Controller:We can access routing
data inside a Controller using the RouteData object.
public ActionResult Index()
{
    ViewBag.Message = string.Format("{0}---{1}--{2}",
        RouteData.Values["Controller"],
        RouteData.Values["action"],
        RouteData.Values["id"]
        );return View();
}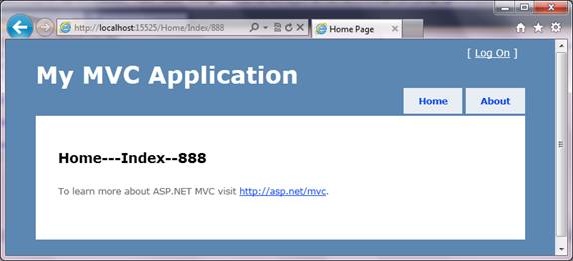
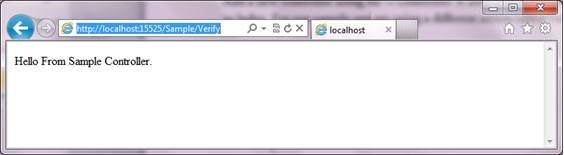
- Controllers:Now let us create a new Controller and see
how we can route to the new Controller using a different routing pattern.
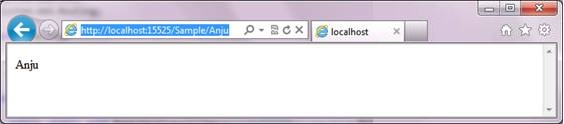
Let us run the application. Modify the URL to /sample/verify.
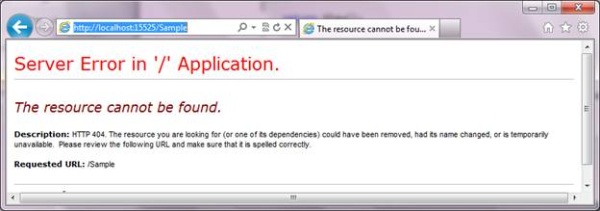
But if we specify /Sample without any Action, we will receive a 404 error. As per the defined routing, if there is no Action specified, it should redirect to the Index action inside the specified Controller. Here, our SampleController doesn’t have any Index action and throws an error.
- Adding a new route:
- For fixing the above issue, let us define a new route
called “sample”.
public static void RegisterRoutes(RouteCollection routes)
{
    routes.IgnoreRoute("{resource}.axd/{*pathInfo}");

    routes.MapRoute(
                "sample",
                "Sample/{action}",
                new { controller = "Sample", action = "Verify" }
                );


    routes.MapRoute(
                "Default", // Route name
                "{controller}/{action}/{id}", // URL with parameters
                new { controller = "Home", action = "Index",
                      id = UrlParameter.Optional } // Parameter defaults
            );

}
- The value can be accessed either using the RouteData
object or through a parameter to the Verify action.
public ActionResult Verify(string username)
{
    return Content(username);
}
Note that the URL consists of only the Controller and the parameter.
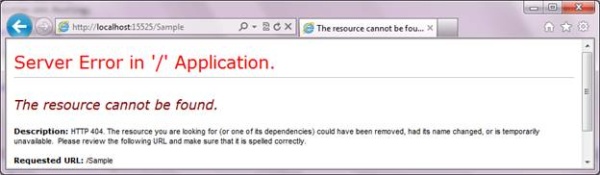
Again, you will receive a 404 error when we omit the parameter value.
We had a quick discussion on how routing works in ASP.NET MVC and how we can customize the same. We will discuss more about Views, Styles, Action results, etc., in the next article. - For fixing the above issue, let us define a new route
called “sample”.
- Action Result:By default, the Controller actions will return
the ActionResult object. We can return various types of results as
ActionResult, which will decide how the output needs to render on
the browser.
public ActionResult About()
{
    return View();
}
Sample Controller
For our sample, we will use the following SampleController in addition to the default HomeController and AccountController.
public class SampleController : Controller { // // GET: /Sample/ public ActionResult Index() { return Content("Hello from Index action in Sample Controller"); } public ActionResult Verify(string username = "all") { return Content("Hello from Verify action in Sample Controller"); } }- Content:
When we need to return any text from a Controller action, we will use the Content type.
public ActionResult Index()
{
    return Content("Hello from Home Controller");
}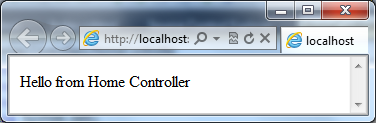
- RedirectToAction
Depending on the input values, we can redirect to another Action. For redirecting to another Action, we will use the RedirectToAction type.
public ActionResult Index()
{
    // Redirect to Verify action inside the Sample Controller
    return RedirectToAction("Verify", "Sample");
}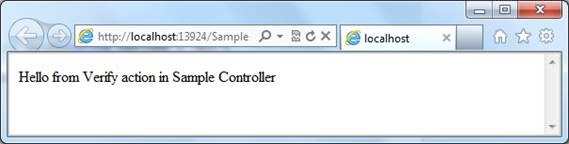
- RedirectToRoute
When we need to redirect to a route defined in Global.asax, we will use the RedirectToRoute object.
As part of our sample application, we have a custom route defined with the name “sample”. This will route to the Index action inside the Sample Controller. For more on Custom routes, please refer to Controllers and Routers in ASP.NET MVC 3.
public ActionResult Index()
{
    return RedirectToRoute("sample");
}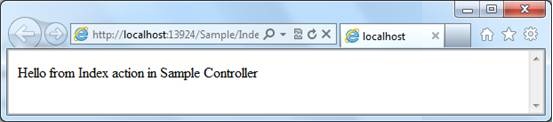
- File
File is used to return the content of a file to the browser. For our sample, I am returning the web.config to the browser.
public ActionResult Index()
{
    return File("Web.config", "text/html");
}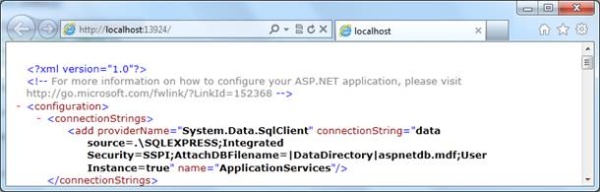
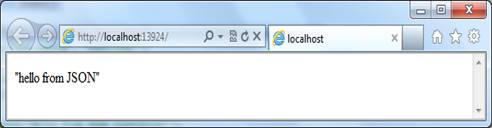
- JSON:We can render the text to the result page or can
send it as a file to the client using JSON notation.
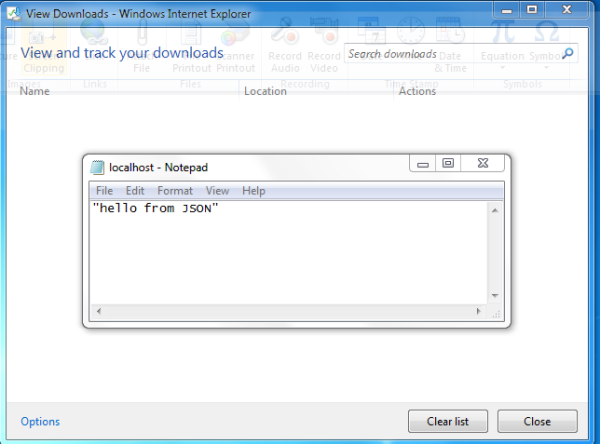
public ActionResult Index()
{
    return Json("hello from JSON","text/html", JsonRequestBehavior.AllowGet);
}
As we specified the type of the content, it will render to the browser as shown below:
public ActionResult Index()
{
    return Json("hello from JSON", JsonRequestBehavior.AllowGet);
}
If there is no content type specified, it will download the content as a file.
- Content:
- Action Filters
There are a set of Action filters available with ASP.NET MVC 3 to filter actions. Action filters are defined as attributes and applied to an Action or controller.
- Authorize
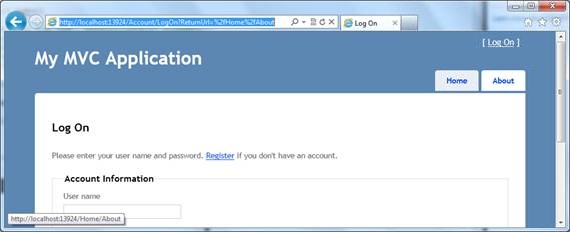
Authorize filters ensure that the corresponding Action will be called by an authorized user only. If the user is not authorized, he will be redirected to the login page.
[Authorize]
public ActionResult About()
{
    return View();
}
If the user is not authorized and invoke the About action, then he will redirected to the log on page.
- Authorize
- HandleError
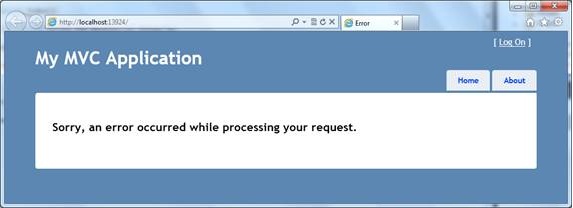
HandleError will handle the various exceptions thrown by the application and display user friendly message to the user.
- Now throw an exception from the Home Controller:
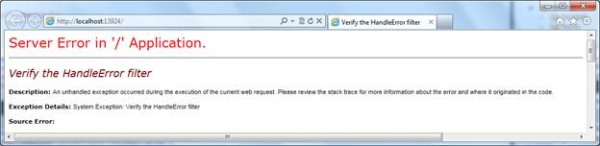
public ActionResult Index()
{
    throw new Exception("Verify the HandleError filter");
    ViewBag.Message = "Welcome to ASP.NET MVC!";
    return View();
}
Now run the application and observe the custom error message:
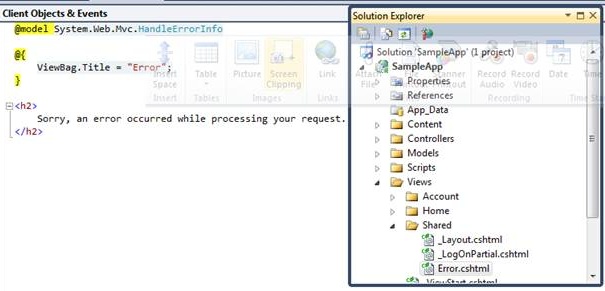
- This View is defined under Shared Views. We can change
the error message using the Error.cshtml file.
- Now, let us remove the filter from Global.asax and verify
our application. We will receive the following server error:

- Now, let us update the CustomError tag to RemoteOnly
and verify our application. Now we can see this error message thrown
by the application:
- Now throw an exception from the Home Controller:
- Action Selectors
ASP.NET MVC 3 defines a set of Action selectors which determine the selection of an Action. One of them is ActionName, used for defining an alias for an Action. When we define an alias for an Action, the Action will be invoked using only the alias; not with the Action name.
[ActionName("NewAbout")]
public ActionResult About()
{
    return Content("Hello from New About");
}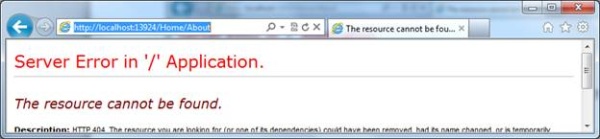

ASP.NET has more Action selectors like HTTPPost and HTTPGet, which we will discuss later.
Here we had a quick discussion of the various Action result options and Action filters. We will discuss more about Views, Styles, etc., in the next article.